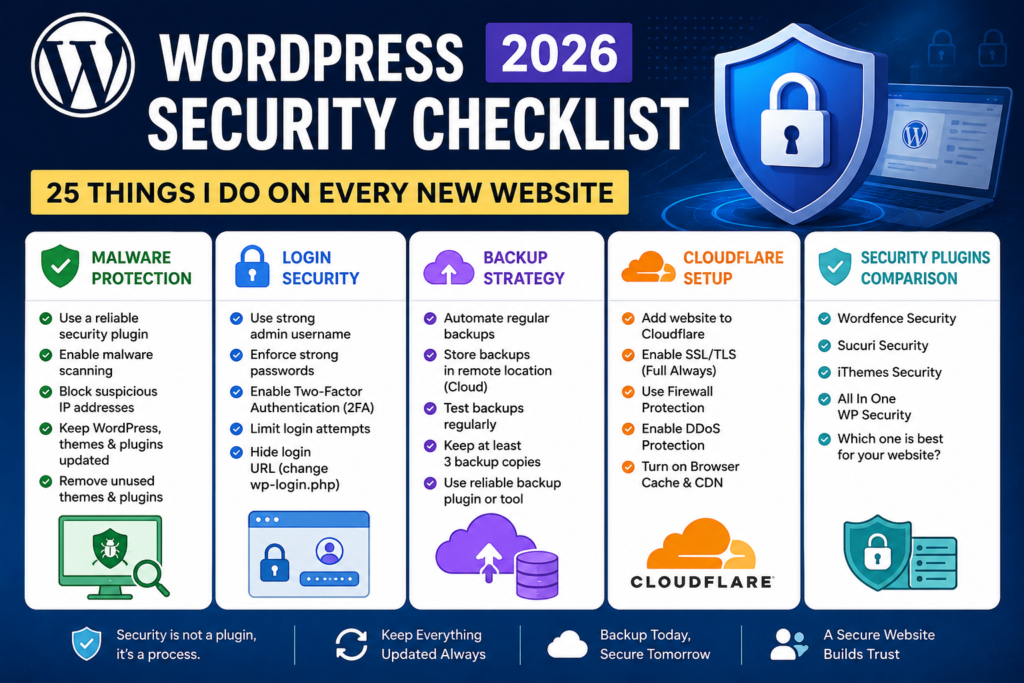
WordPress Security Checklist: 25 Things I Do on Every New Website
Look, I’ve built a lot of WordPress sites over the years. And I’ve also broken a lot of them — or rather, watched them get broken by someone else. There’s nothing quite like the sinking feeling of opening your website and seeing a pharma spam page where your homepage used to be.
So now, before I launch anything, I run through the same checklist every single time. No exceptions. Whether it’s a simple blog or a full WooCommerce store, these 25 steps go in before the site goes live. Some of them take 30 seconds. Some take a bit longer. All of them are worth it.
Let’s get into it.
🛡️ Part 1: Malware Protection (Because Prevention Beats Cleanup Every Time)
1. Install a malware scanner from day one
Don’t wait until something looks wrong. By then, the malware has usually been sitting there for weeks. I use Wordfence or MalCare on most sites — both have solid free tiers that scan your files and flag anything suspicious.
Wordfence is great if you want granular control. MalCare is better if you want something that just quietly does its job without bombarding you with alerts.
2. Enable real-time file change monitoring
This one’s underrated. If a file in your WordPress core or theme folder suddenly changes and you didn’t change it — that’s a red flag. Most security plugins let you enable file integrity monitoring. Turn it on.
3. Remove unused themes and plugins
Every deactivated plugin sitting in your /wp-content/plugins/ folder is a potential entry point. If you’re not using it, delete it completely. Same goes for themes — WordPress installs a few by default, and most sites never use them.
4. Keep everything updated — always
I know, I know. You’ve heard this a hundred times. But outdated plugins are still the #1 cause of WordPress hacks in 2026. Enable auto-updates for minor releases at minimum, and check for plugin updates at least once a week.
5. Harden your wp-config.php file
This file holds your database credentials. Move it one directory above your public root if your host allows it, and restrict file permissions to 400 or 440. Also add these lines to disable file editing from the dashboard:
php
define('DISALLOW_FILE_EDIT', true);
define('DISALLOW_FILE_MODS', true);
🔐 Part 2: Login Security (Your Front Door Needs a Better Lock)
6. Change the default admin username
If your username is literally “admin” — please, right now, go change it. It’s the first thing any brute-force attack tries. Create a new administrator account with a non-obvious username, log in with that, and delete the old “admin” account.
7. Use a strong, unique password
This should go without saying, but I still see people using their business name + “123”. Use a password manager and generate something like T7#mKx9!vQpLz2$w. Yes, it looks like keyboard smashing. That’s the point.
8. Enable Two-Factor Authentication (2FA)
This is non-negotiable for me. Even if someone gets your password, they can’t log in without your phone. WP 2FA and Google Authenticator plugins both do this well. Set it up for every admin account.
9. Limit login attempts
By default, WordPress lets anyone try to log in as many times as they want. That’s how brute-force attacks work — they just keep guessing. Install Limit Login Attempts Reloaded or use Wordfence’s built-in rate limiting to block IPs after a few failed tries.
10. Change the default login URL
The standard WordPress login page is at /wp-login.php — and every bot on the internet knows that. I use WPS Hide Login to move it to something custom like /my-secure-door. It’s not foolproof, but it dramatically cuts down on automated attacks hitting that URL.
11. Disable XML-RPC if you don’t need it
XML-RPC is a WordPress feature that allows remote publishing and app integrations. Most sites don’t need it, and it’s a classic vector for brute-force attacks. Add this to your .htaccess to block it:
apache
<Files xmlrpc.php>
  Order Deny,Allow
  Deny from all
</Files>
12. Add CAPTCHA to your login form
For sites with user registrations or WooCommerce accounts, add a CAPTCHA to the login and registration pages. Cloudflare Turnstile is my current favourite — it’s invisible to real users and brutal on bots.
💾 Part 3: Backup Strategy (Because “I Should Have Had a Backup” is the Saddest Sentence)
13. Set up automated daily backups
If you’re not backing up automatically, you’re not really backing up. I use UpdraftPlus on most sites — it’s reliable, has been around forever, and the free version is genuinely good. Schedule daily backups at minimum.
14. Store backups off-site
Backing up to the same server your site is on is like keeping your house key… inside your locked house. Send your backups to Google Drive, Dropbox, Amazon S3, or a dedicated remote storage. UpdraftPlus and BlogVault both make this easy.
15. Test your backups regularly
A backup you’ve never tested is a backup you don’t actually have. Once a month, do a test restore on a staging environment. I know it sounds tedious. Do it anyway. Your future self will thank you.
16. Keep at least 30 days of backup history
One backup isn’t enough. Some hacks are sneaky — malware can sit dormant for weeks before it activates. Keep at least 30 days of backup history so you can roll back to a clean version if needed.
☁️ Part 4: Cloudflare Setup (Free Protection That’s Genuinely Incredible)
17. Put your site behind Cloudflare
If you’re not already using Cloudflare, start today. The free plan includes a Web Application Firewall (WAF), DDoS protection, and CDN — all of which make your site both faster and more secure. Sign up, add your site, and point your nameservers. That’s it.
18. Enable “Under Attack Mode” during incidents
If your site is actively getting hammered by bots or a DDoS attack, flip Cloudflare’s Under Attack Mode on. It adds a JS challenge that most bots can’t pass. Real visitors see a 5-second delay. Bots get blocked.
19. Set up Cloudflare firewall rules
This is where Cloudflare gets really powerful. You can create custom rules to block traffic by country, block known bad user agents, or challenge requests to sensitive URLs like /wp-login.php and /xmlrpc.php. Here’s a simple rule I use on almost every site:
- If: URI path contains
/wp-login.phpAND the visitor is not from your country - Then: Block
20. Enable Cloudflare’s Bot Fight Mode
In your Cloudflare dashboard, turn on Bot Fight Mode under Security → Bots. This automatically challenges requests from known bot networks. It’s free, takes 10 seconds to enable, and makes a real difference.
21. Force HTTPS and enable HSTS
In Cloudflare, set SSL/TLS to Full (Strict) mode, enable Always Use HTTPS, and turn on HTTP Strict Transport Security (HSTS). This ensures every visitor connects securely and browsers remember to always use HTTPS for your domain.
🔌 Part 5: Security Plugins — What I Actually Use and Why
There are a lot of security plugins out there, and they all claim to do everything. Here’s my honest take:
22. Wordfence — Best for hands-on users
Wordfence is the most feature-rich free security plugin available. It includes a firewall, malware scanner, login security, and real-time traffic monitoring. The downside? It can be resource-heavy on budget hosting, and the alert emails can get overwhelming if you don’t tune the settings.
Best for: Developers and site owners who want visibility and control.
23. Solid Security (formerly iThemes Security) — Best for beginners
Solid Security has a great setup wizard and covers the basics really well — login protection, file change detection, database backups, and two-factor auth. It’s more beginner-friendly than Wordfence and less intimidating to configure.
Best for: DIY site owners who want solid protection without a steep learning curve.
24. MalCare — Best for agencies managing multiple sites
MalCare is built for speed — it runs scans on their servers so it doesn’t slow down your site. The one-click malware removal in the paid plan is genuinely good. If you manage multiple client sites, their dashboard makes it easy to monitor everything in one place.
Best for: Agencies and freelancers managing multiple WordPress installs.
⚠️ One important note on plugins:
Don’t install multiple security plugins at once. They’ll conflict with each other, cause false positives, and potentially break your site. Pick one, configure it properly, and stick with it.
✅ Bonus Tips (The Little Things That Add Up)
25. Disable directory browsing
By default, if there’s no index.php in a folder, anyone can browse its contents at yourdomain.com/wp-content/uploads/. That’s a privacy nightmare. Add this to your .htaccess to prevent it:
apache
Options -IndexesThe Bottom Line
WordPress security isn’t about finding one magic plugin and calling it done. It’s about layering multiple defences so that even if one fails, another catches it. Think of it like a house — you lock the front door and the back door and have a security camera and know your neighbours.
None of these steps are particularly hard. Most take just a few minutes. But together, they make your site dramatically harder to compromise than the average WordPress install out there.
Bookmark this checklist. Run through it on your next new site. And honestly? Run through it on your existing sites too — there’s probably a few things on this list you haven’t set up yet.
Have a question about any of these steps, or a tool you swear by that I didn’t mention? Drop it in the comments — I read every one.
One thing that stood out is treating deactivated themes and plugins as leftover attack surface instead of harmless clutter — a lot of people overlook that. I’d also argue the real benefit of file monitoring isn’t just catching hacks; it helps spot accidental changes during updates or client edits before they turn into bigger problems.
Thanks! That’s a great point. File monitoring is definitely useful beyond security incidents—it’s often the fastest way to catch unintended changes from updates, plugin conflicts, or manual edits before they become larger issues.